Welcome to our 2026 Sew-Along Quilt
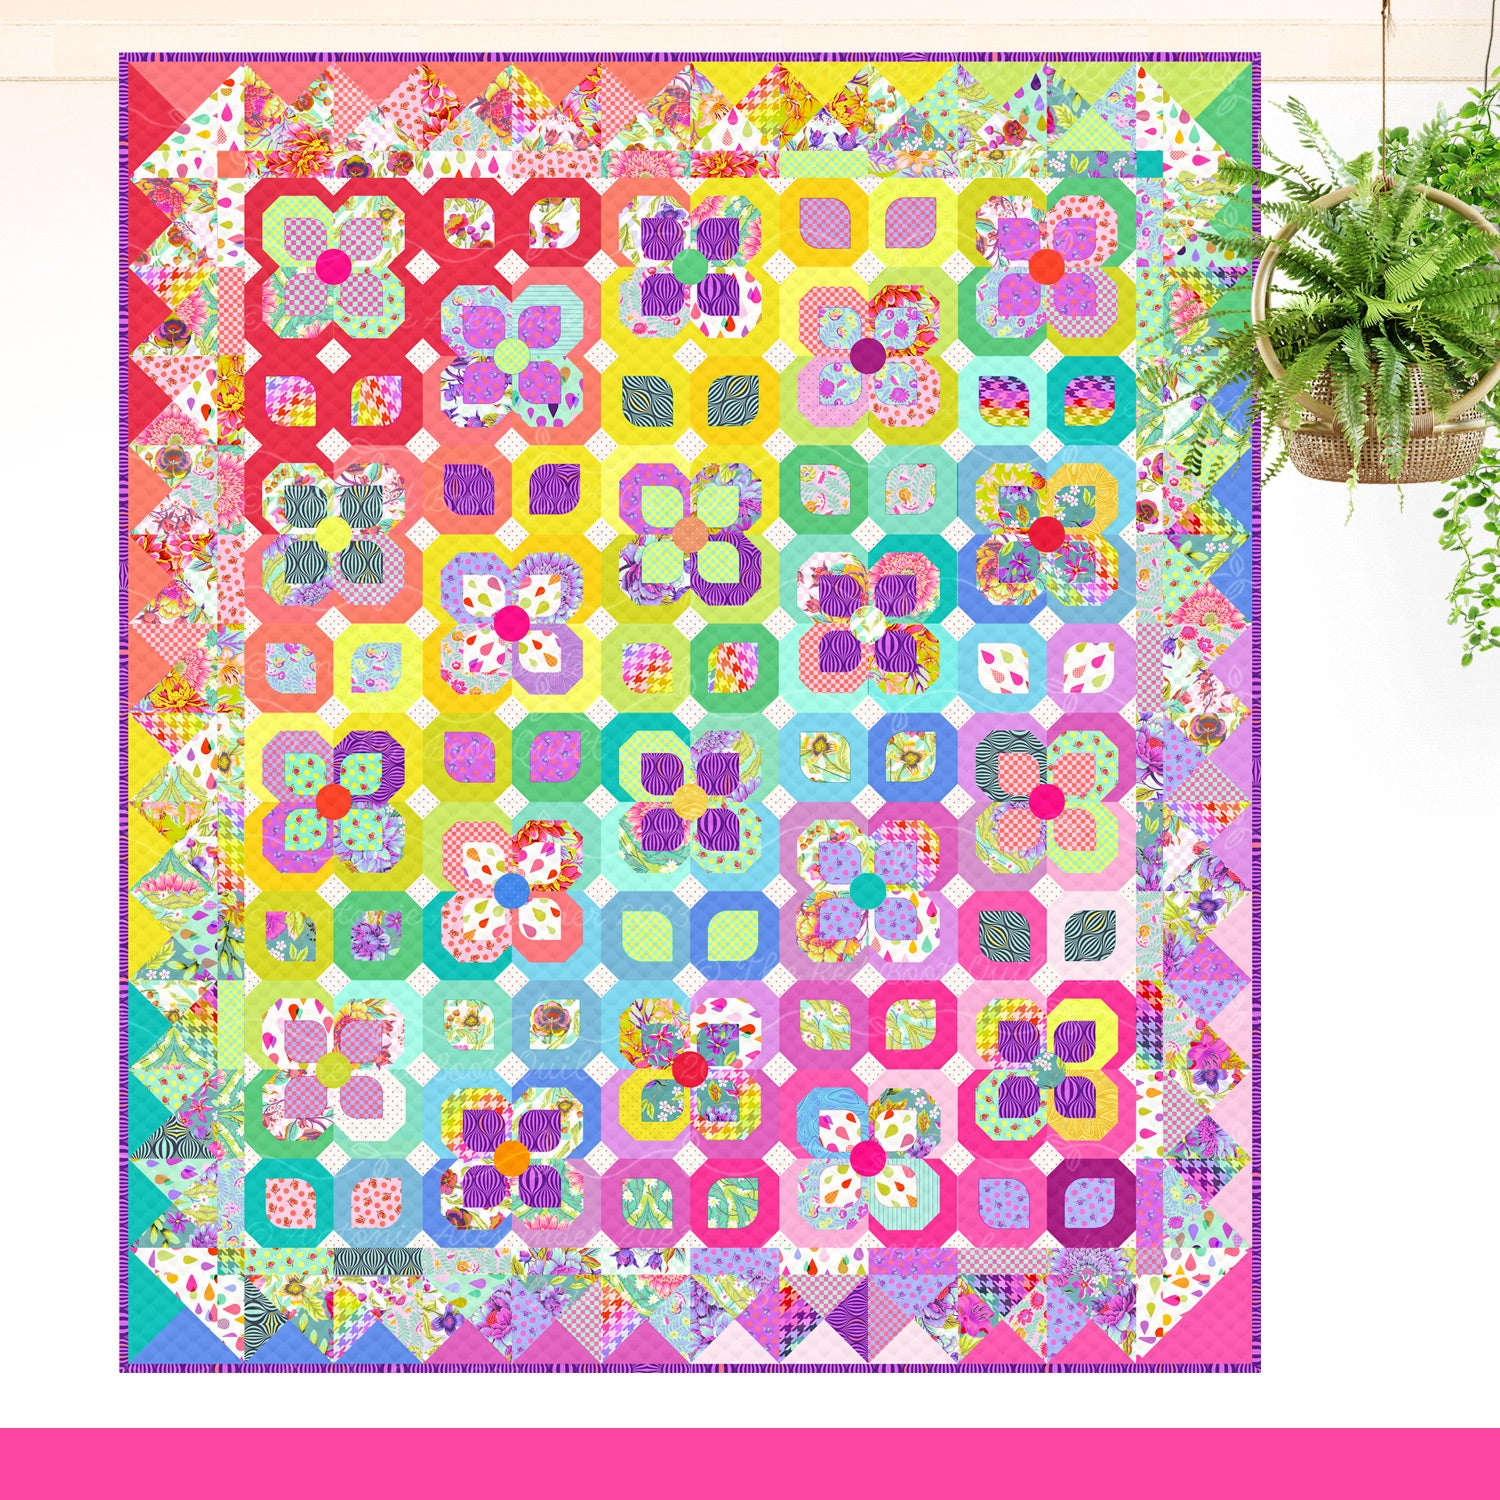
Hello happy quilters, welcome to the start of our 2026 "Toni's Garden" sew-along.
- The sew-along will run for 16 weeks and you can find the release schedule and basic materials list here.
- You can download the instalments here.
- The finished quilt will measure approximately 56 1/2" x 56 1/2" (154cm x 154cm).
- Please consider buying me a coffee on my Ko-fi account here. Every 'coffee' donation will put you in the draw for a fabulous prize to be drawn at the end of the year (more details to come later).
Let's get started shall we! The PDF instructions contain everything you need to know, but I'll add some photos and tips to these blog posts.

The first step is to make the stem. In simple terms you are making a bias strip without cutting the fabric on the bias. Fold the long edges inwards by 1/4" on both sides. Press well as you go.
You can use a spot of fabric glue to hold the stem in place on the block or you can cheat, like me, by fusing a strip of fusible webbing to the centre of the stem. This holds it in place until you can stitch it down.

Fuse, or glue, the stem to the 8 1/4" background block (on the diagonal). The stem will be trimmed to fit the block, so don't use too much heat otherwise you won't be able to peel the stem back. Put this part of the block aside until later.

Next up are the 'leaf' sections. Follow the PDF instructions to make the leaf sections of the block because the following photo doesn't show the correct orientation.
However, the photo illustrates a great tip for those pesky diagonal seams. Always sew a smidgen inside the diagonal line - just a tiny little bit. This leaves room for the seam when you fold the fabric back. Even though it's the tiniest measurement, it allows for the width of the seam, giving you a more accurate block.

Once you've made all four leaf sections, lay out the pieces of the block on your sewing table as follows -

Follow the block instructions to sew the blue strips to the tops of the leaves, and the coloured squares to the bottom of the leaves.

Sew the finished leaf sections to the block as follows -


I forgot to take a photo of the last strip (red spot) when it was sewn to the block so just pretend I have!
Are you still with me? Time to get cracking on the applique. You know the drill - trace the shape, then roughly cut it out, leaving a some fusible webbing around the edges.
Fuse it to the wrong side of your fabric. When it's cool (insert stern look here) cut it out on the lines (piccy 3 on the left). Ask me how I know you can get a nasty burn if you handle the glue while it's hot!!
Peel off the backing paper when you're ready to fuse the flower to the block. You can see the shiny glue in piccy 4.

Grab your block... place the flower on the block, overlapping the stem. Don't fuse it yet!
I've placed my flower about 2 1/2" up from the bottom of the stem.
Once you've decided on the position of your flower, trim the stem to fit. Just give the stem a gentle pull and the glue will detach from the block. If it's fused too well, use your iron to heat the stem a little (which will soften the glue) then peel it back. Remember to leave an overlap (or underlap) of at least 1/2".

Once trimmed, you can re-position the flower and fuse it in place. Remember to read the fusible webbing instructions. Every brand has a different pressing/fusing time and you can really make a mess of your block if you make a mistake. Too much heat will either make your block stiff as a board, or melt the glue to nothing.
I didn't cut out the middle of the flower, you can if you prefer - the pattern template shows you how.

Stitch around your shapes using your favourite method and thread. I didn't have time to stitch my block/s, however I'll upload some stitching suggestions in the next week or two. Keep an eye on the sew-along blog for further info.
Well that's it, you've finished Block 1 of the sew-along. Yippee!
See you next time!
toni xx